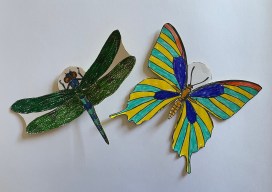
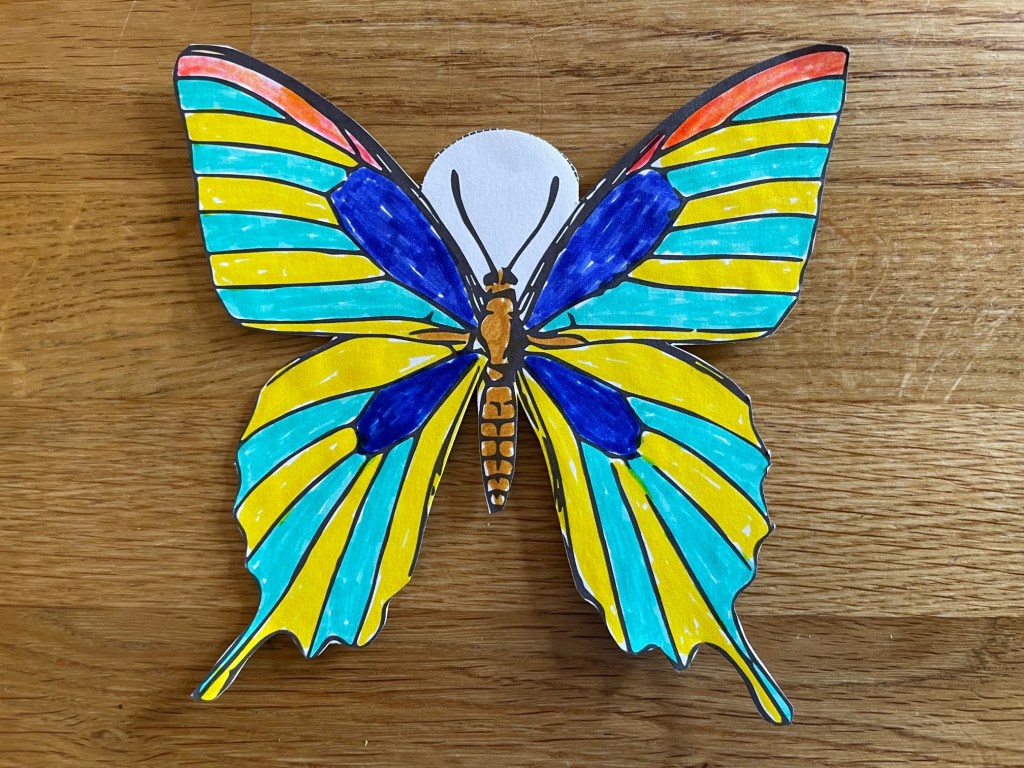
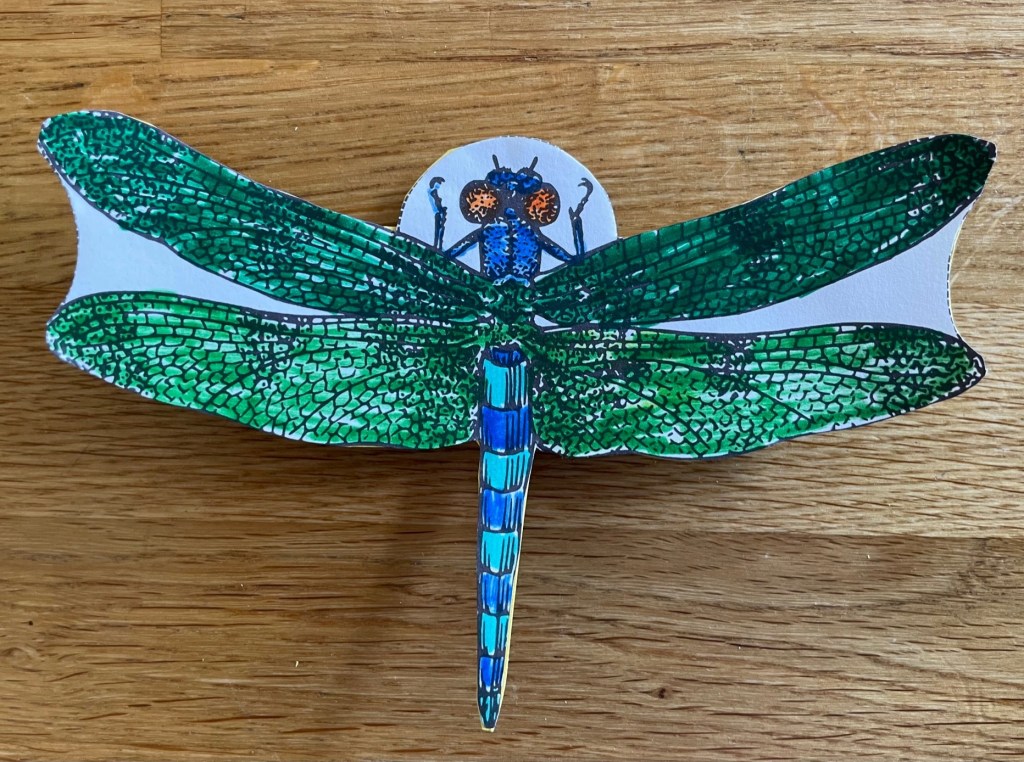
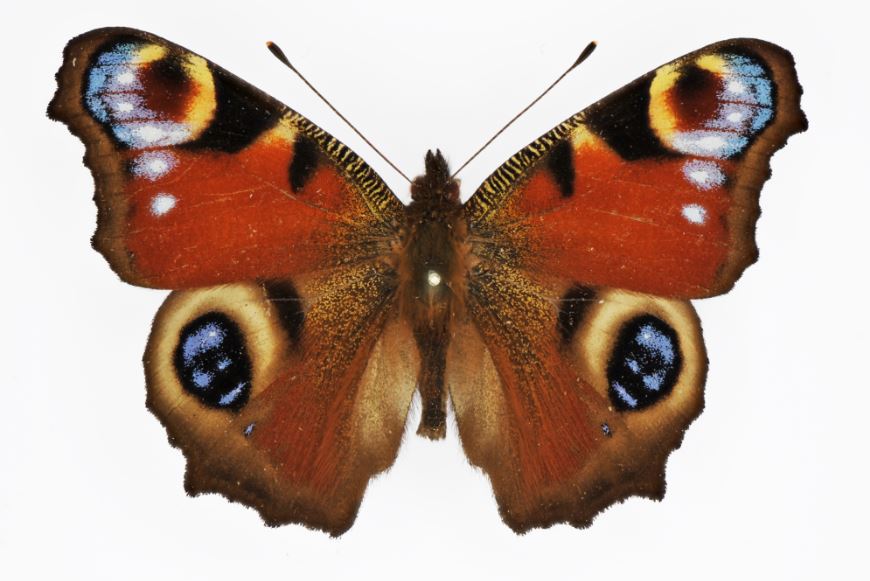
We’re all impressed by insect aerobatics and now you can make your own flying insect model. Here’s how to make a model glider: choose from butterfly or dragonfly, or maybe make both!
First download and print out the insect template sheet. If you can print onto card, you can skip step 2. If you don’t have a printer you could trace the outline of one of the insects from the screen.
Choose an insect picture and stick it onto a piece of thin card. The type that cereal boxes are made out of will work well.
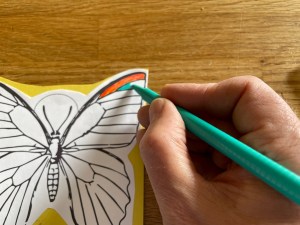
Colour in your insect. You could make it look like a real species of butterfly or dragonfly, or you could let your imagination run wild!
Cut round the outline of your insect.
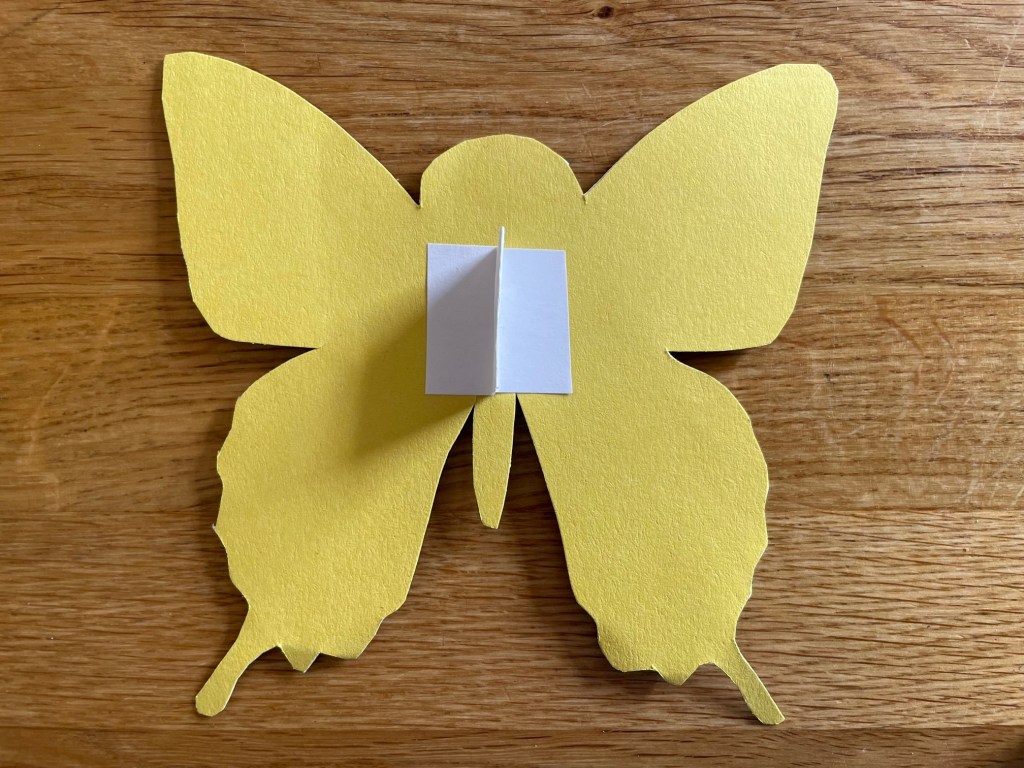
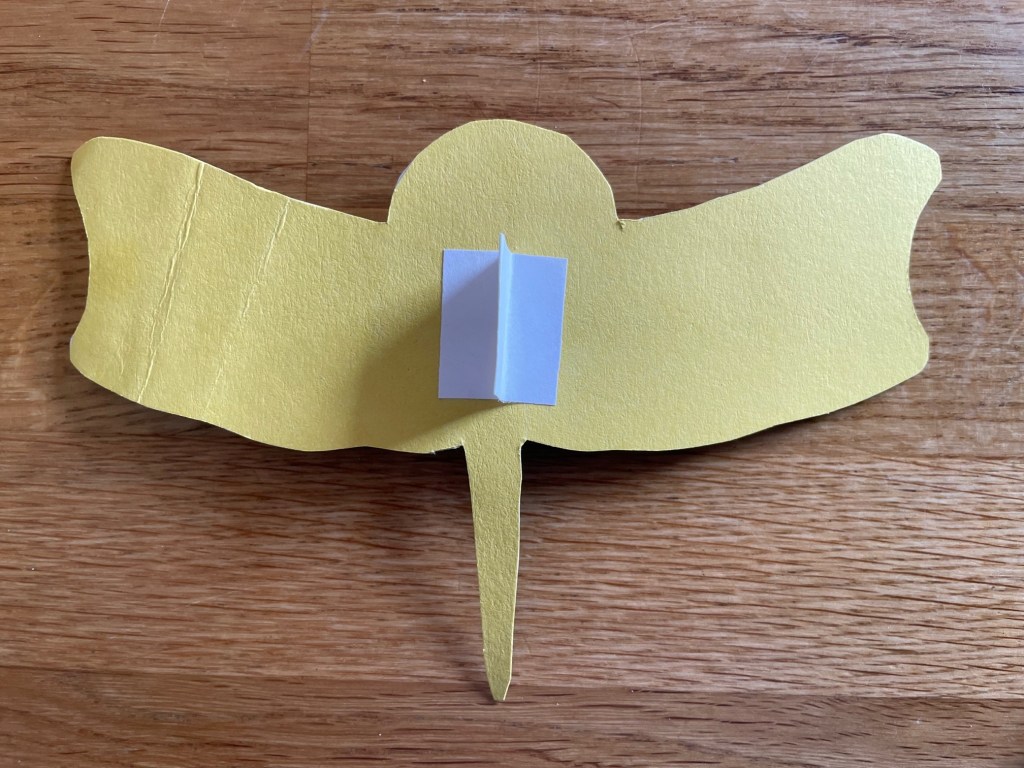
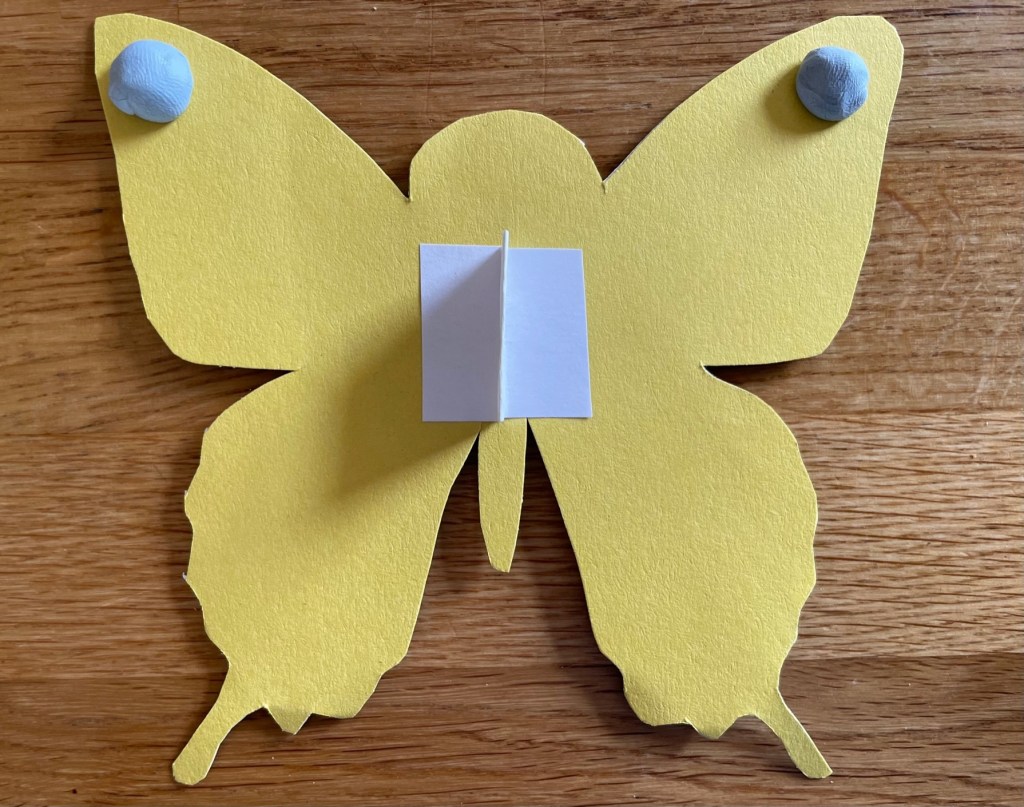
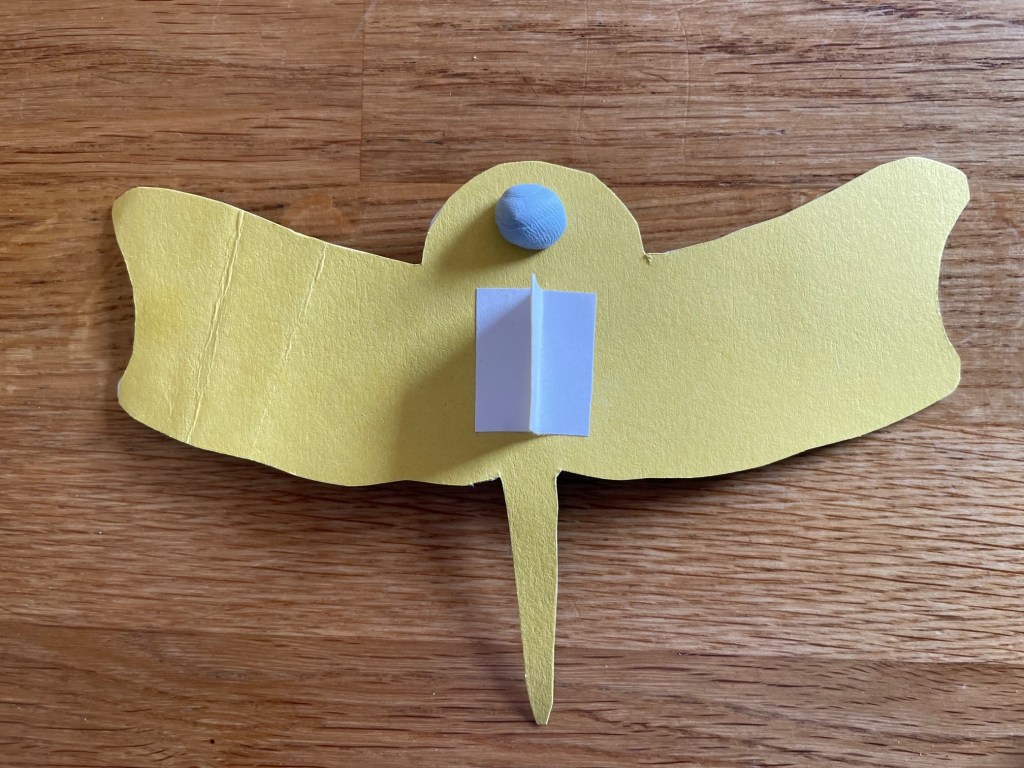
Cut out the grip from the paper template. This is the bit you hold when you throw your glider. Fold it and stick it to the underside of your insect as shown.
Lastly, you will need to weight your insect so it flies properly. If you’re making the dragonfly, put a blob of plascicine or blu-tak at the front. For the butterfly, it will fly better if you put a blob at the front tip of each wing. You might need to experiment a bit to find out how much weight you need to add for the best flight.
Your insect glider should now be ready to go! Have fun flying it. You might want to see how far it can go, how long it can stay in the air, or which of the two models flies best. We’d love to hear how you get on and see your insect designs. You can get in touch using the Contact Us page.
If you enjoyed this make, why not try out some of the others on the Make & Do page?
When is a worm not a worm? When it’s a glow-worm… because a glow-worm is actually a beetle!
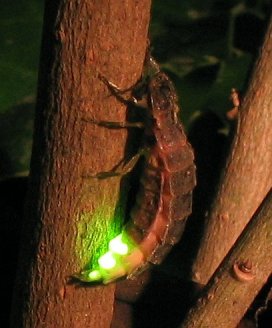
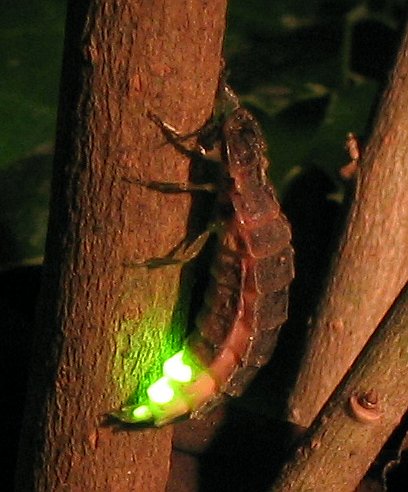
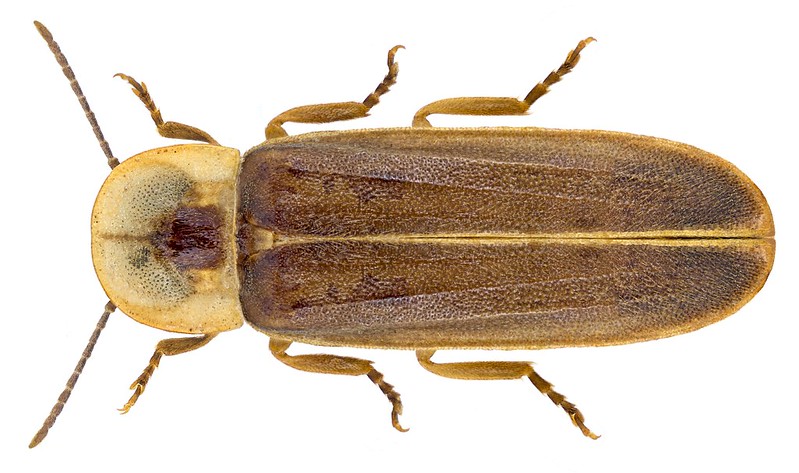
Male glow-worms look like typical beetles with wing cases (elytra) covering their second pair of wings, but the females are very different, having no wings and resembling beetle larvae. It is the females who emit a greenish-orange glow from their back ends by a process called bioluminescence. Light is produced by energy released from chemical reactions occurring inside the glow-worm’s body. In nature, bioluminescence occurs in many different types of organisms from bacteria to marine vertebrates and invertebrates. It serves different purposes such as to warn or evade predators; lure or detect prey; or, in the case of the glow-worm, as a means of communication. The female glow-worms use the light to attract males. Male glow-worms have large eyes with a high degree of sensitivity to light, so they are well adapted to being able to spot females in the dark. Once the glow-worms have mated, the females stop glowing and lay their eggs. If you are out for a night time walk in an area of grassland in June or July, you may be lucky enough to spot these amazing insects glowing in the dark! Glow-worms can be found in England (particularly in the South), but also in lowland Scotland and Wales.
Ferocious Predators
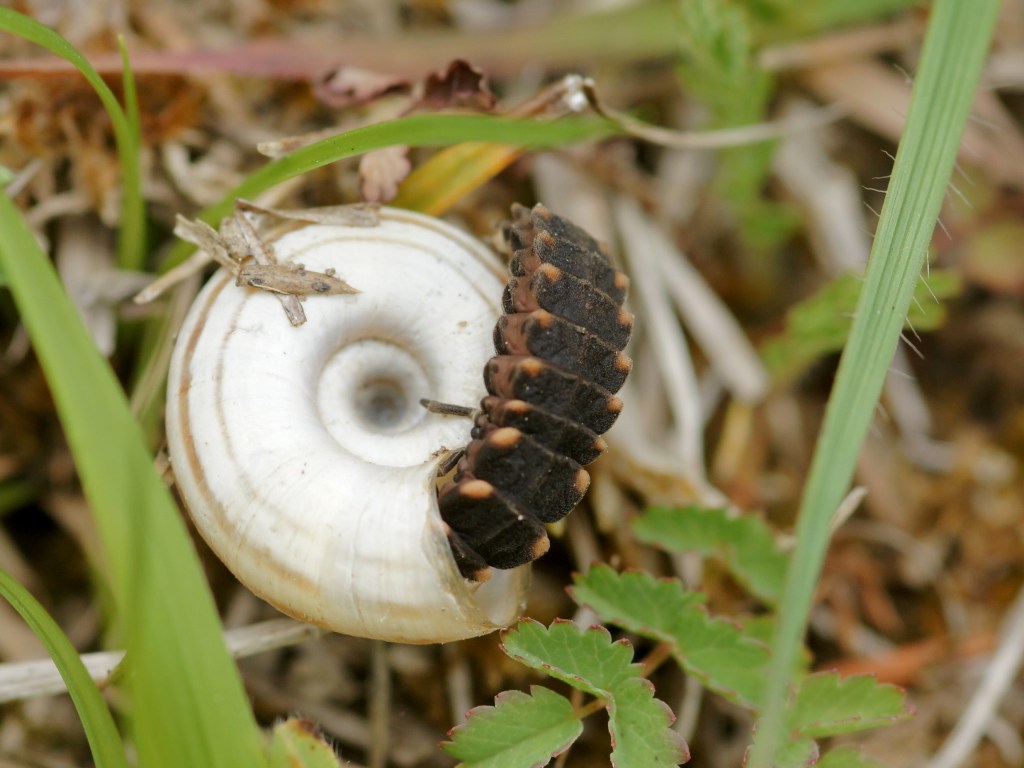
Glow-worm larva hunting snails. Image credit: CC-BY-SA-4.0, Hans Hillewaert
It is not only the female glow-worms who can glow, however. The larvae are also able to flash a light on and off and it is thought that this is to deter predators or to help with their night time hunting. Glow-worm larvae are ferocious hunters of slugs and snails! They have formidable mandibles and inject toxins into their prey which paralyses and liquefies them. The toxin can take a while to take effect so the larva may ride around on the shell of the snail, waiting for it to die! The larval stage of the glow-worm lasts for between 2 and 3 years. Winters, when prey is scarce, are spent in a state of torpor under logs and stones, or buried in the ground.
The Race is On!
Once the larvae have pupated, the glow-worms need to mate as quickly as possible. They do not eat as adults and only have enough stored energy from their larval stage to survive for about 10 days before starving to death. Hopefully with a bright lantern to attract the males, the females will mate successfully and have her eggs fertilised before dying.
Have you seen a glow-worm recently? We would love to hear about it. Let us know in the comments below or via the contact us section of the blog.
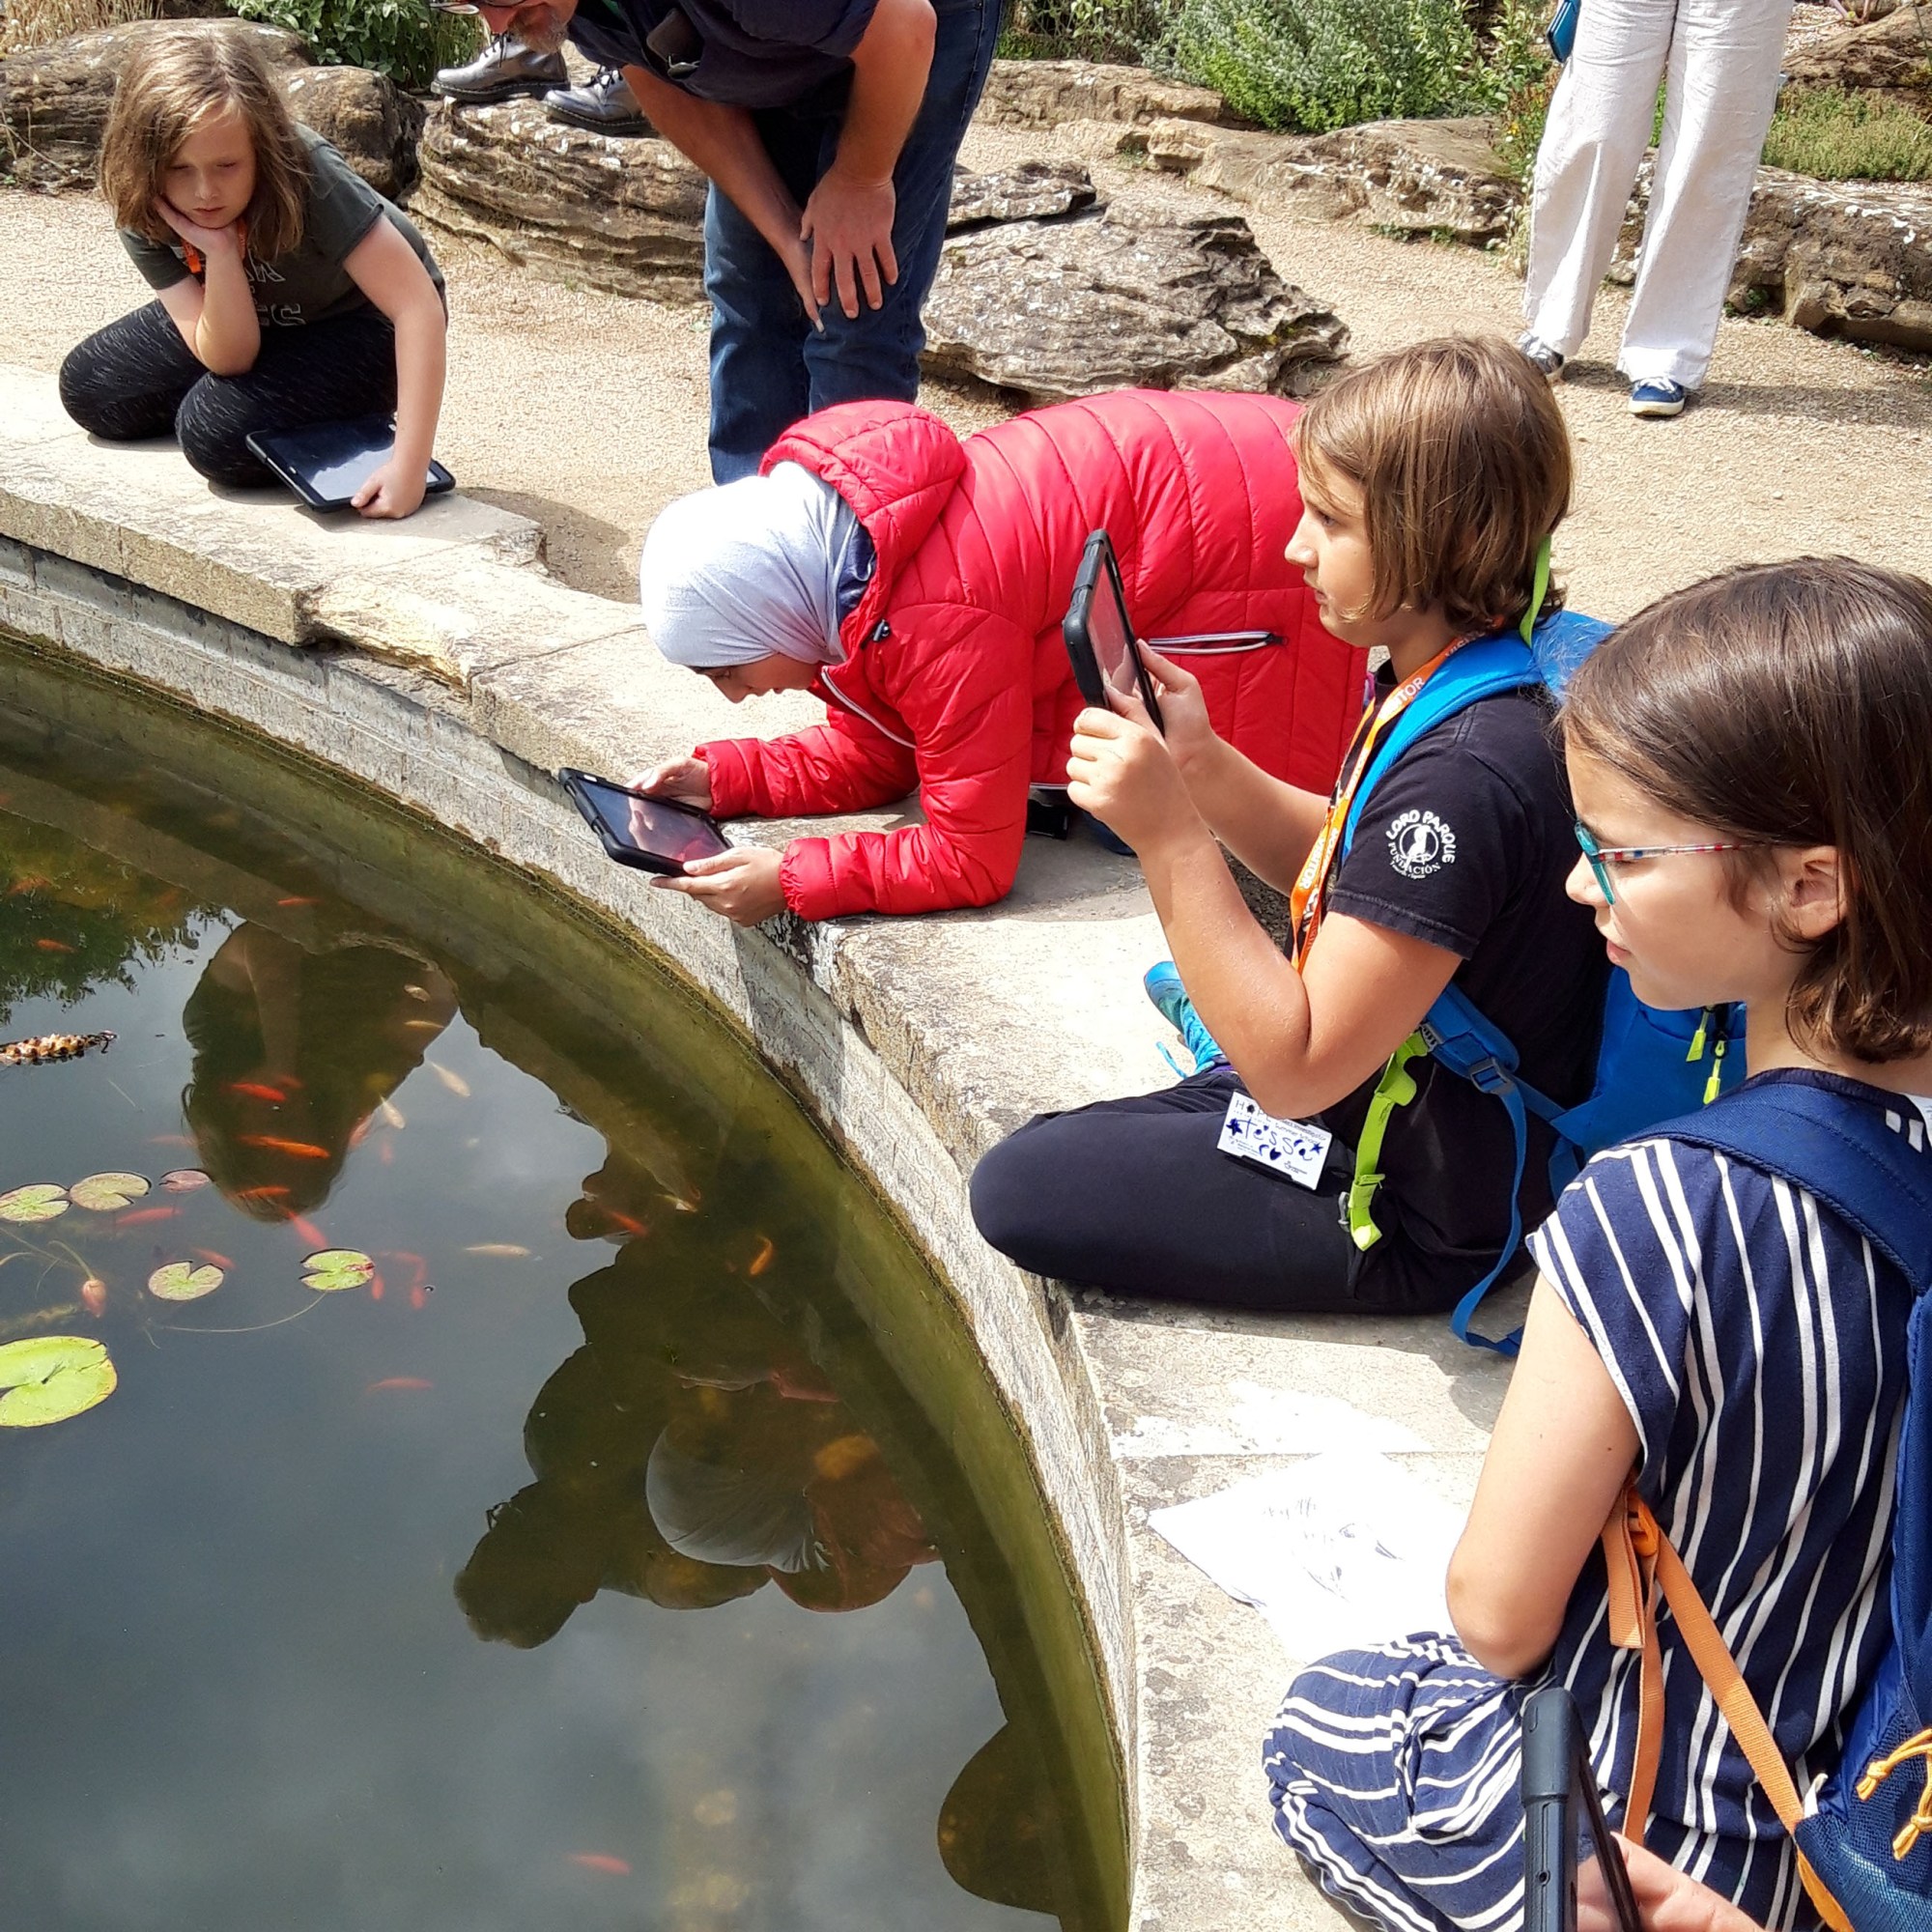
Discover the amazing world of beetles, bees and butterflies at our free Insect Investigators Summer School for 10 to 14 year olds; 10.00am – 3.00pm, 1st to 5th August 2022. THIS EVENT IS NOW FULLY BOOKED.
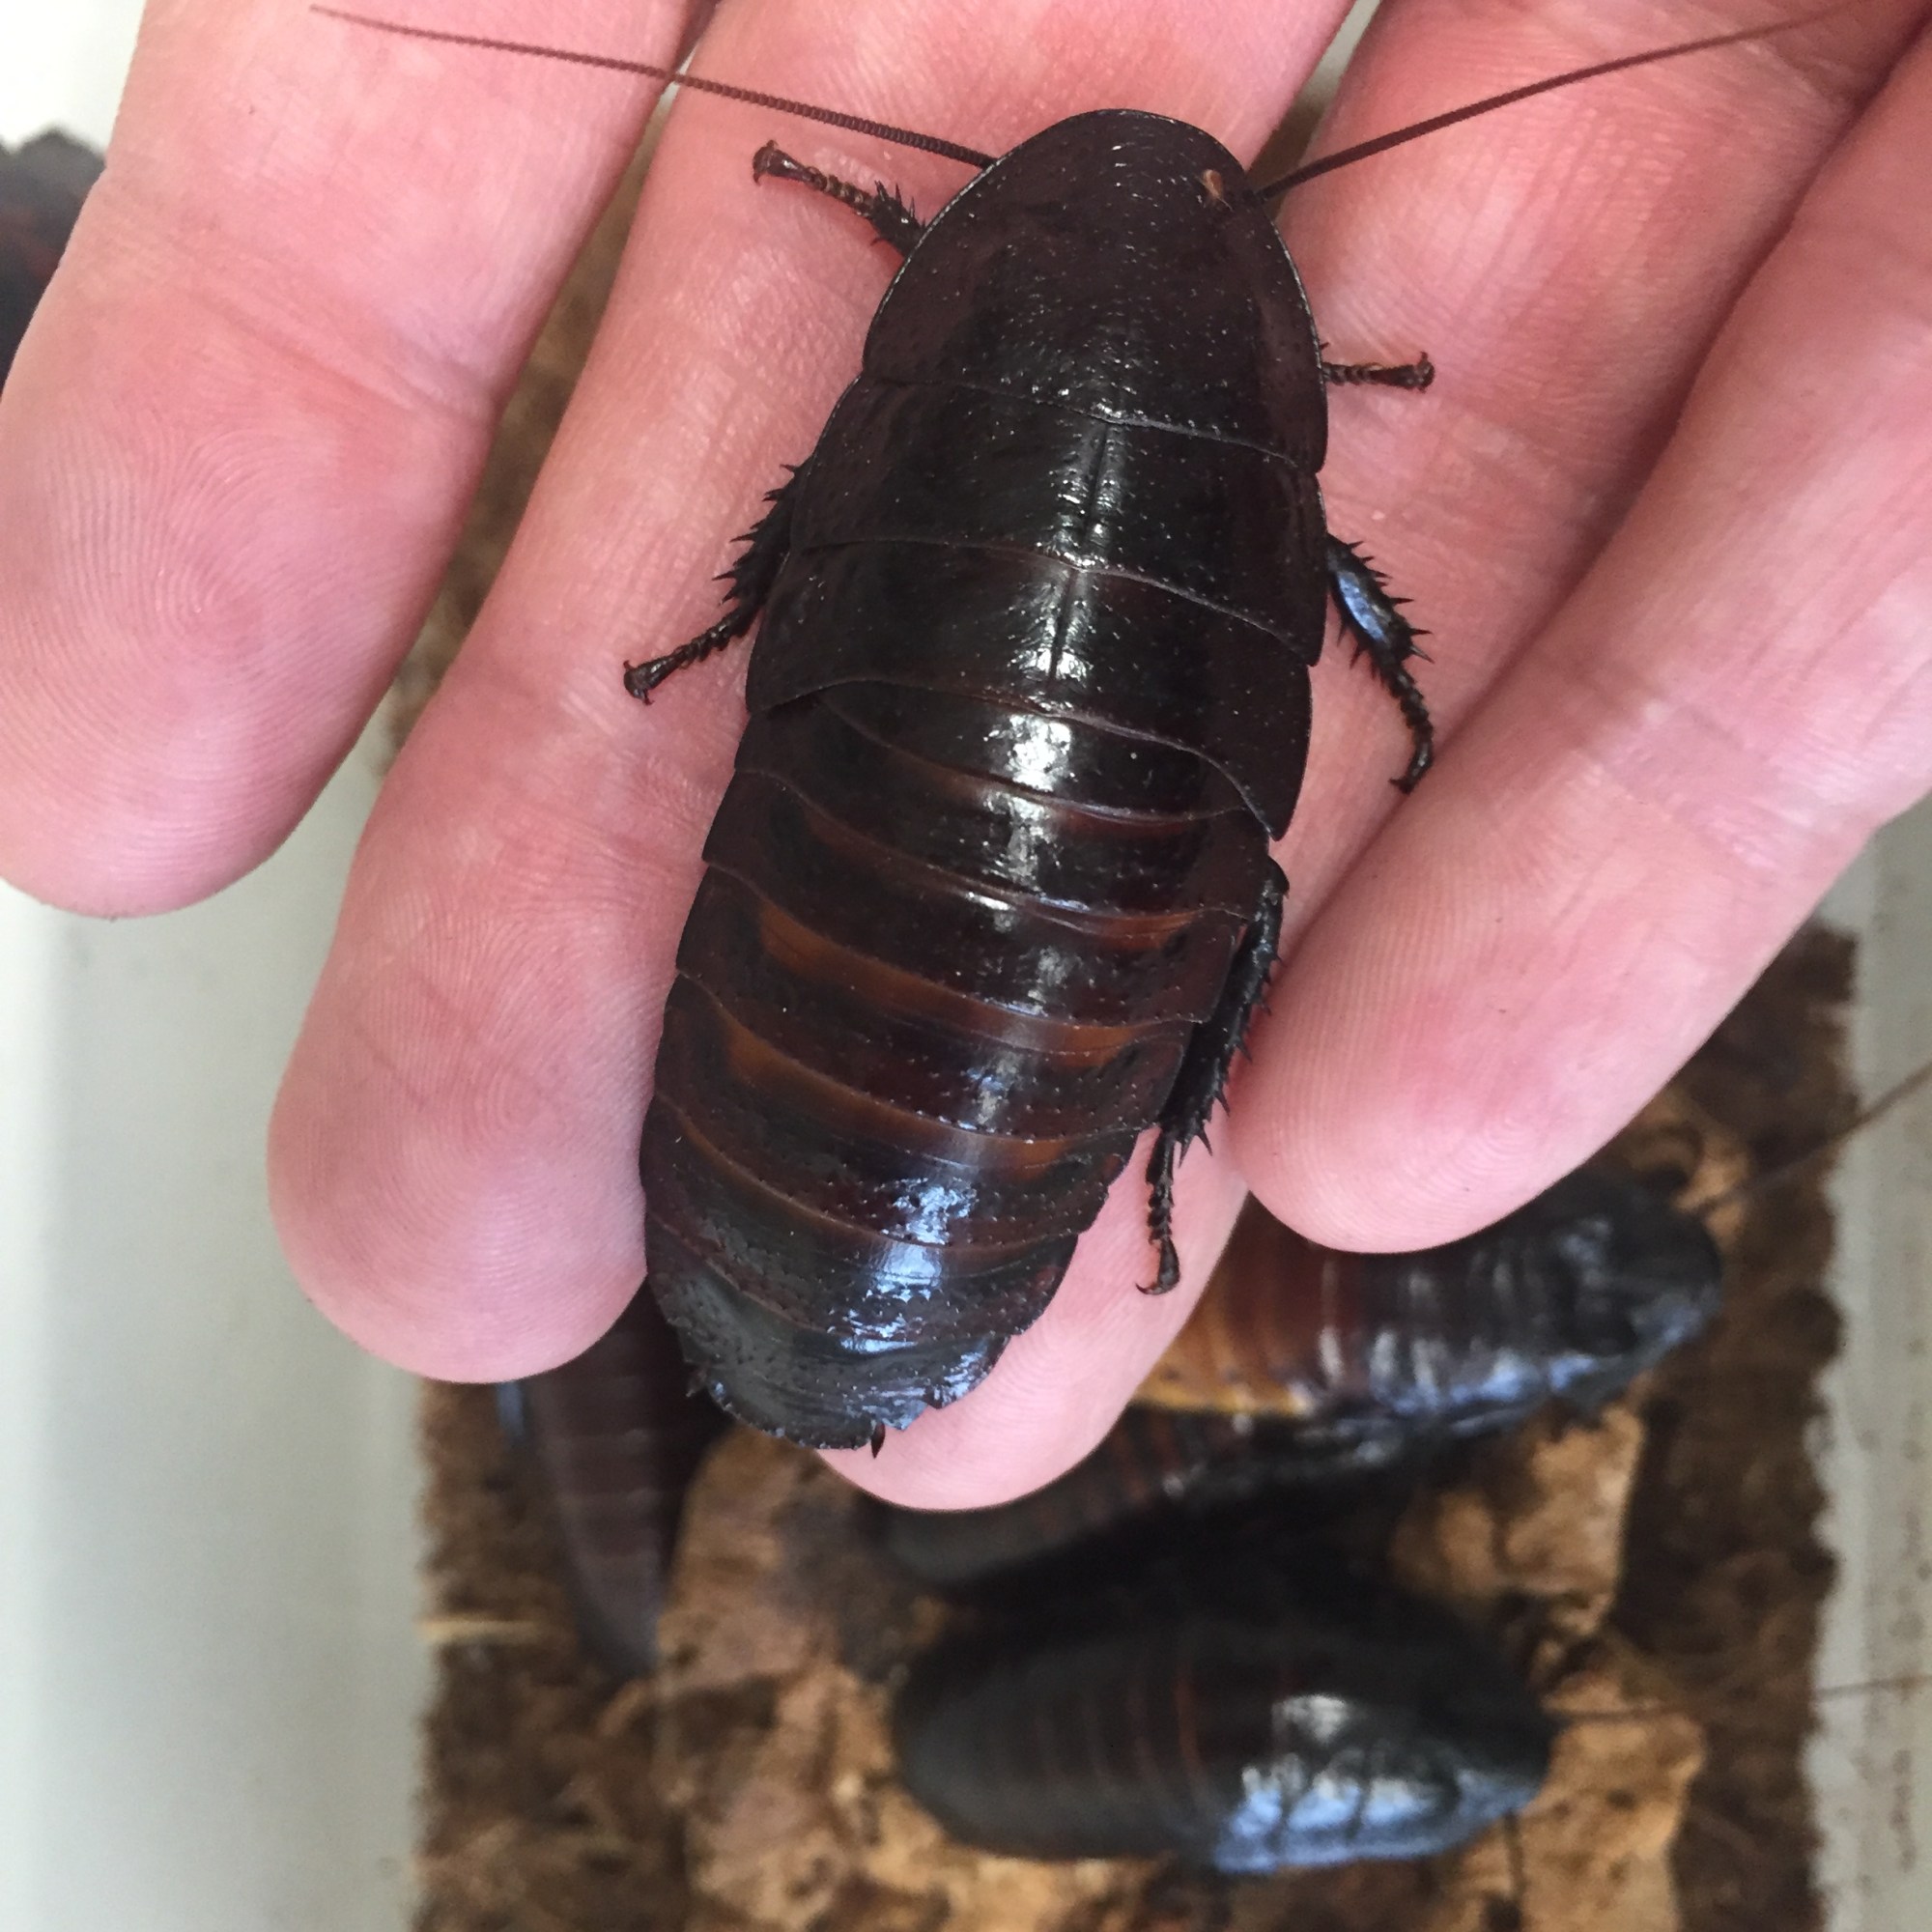
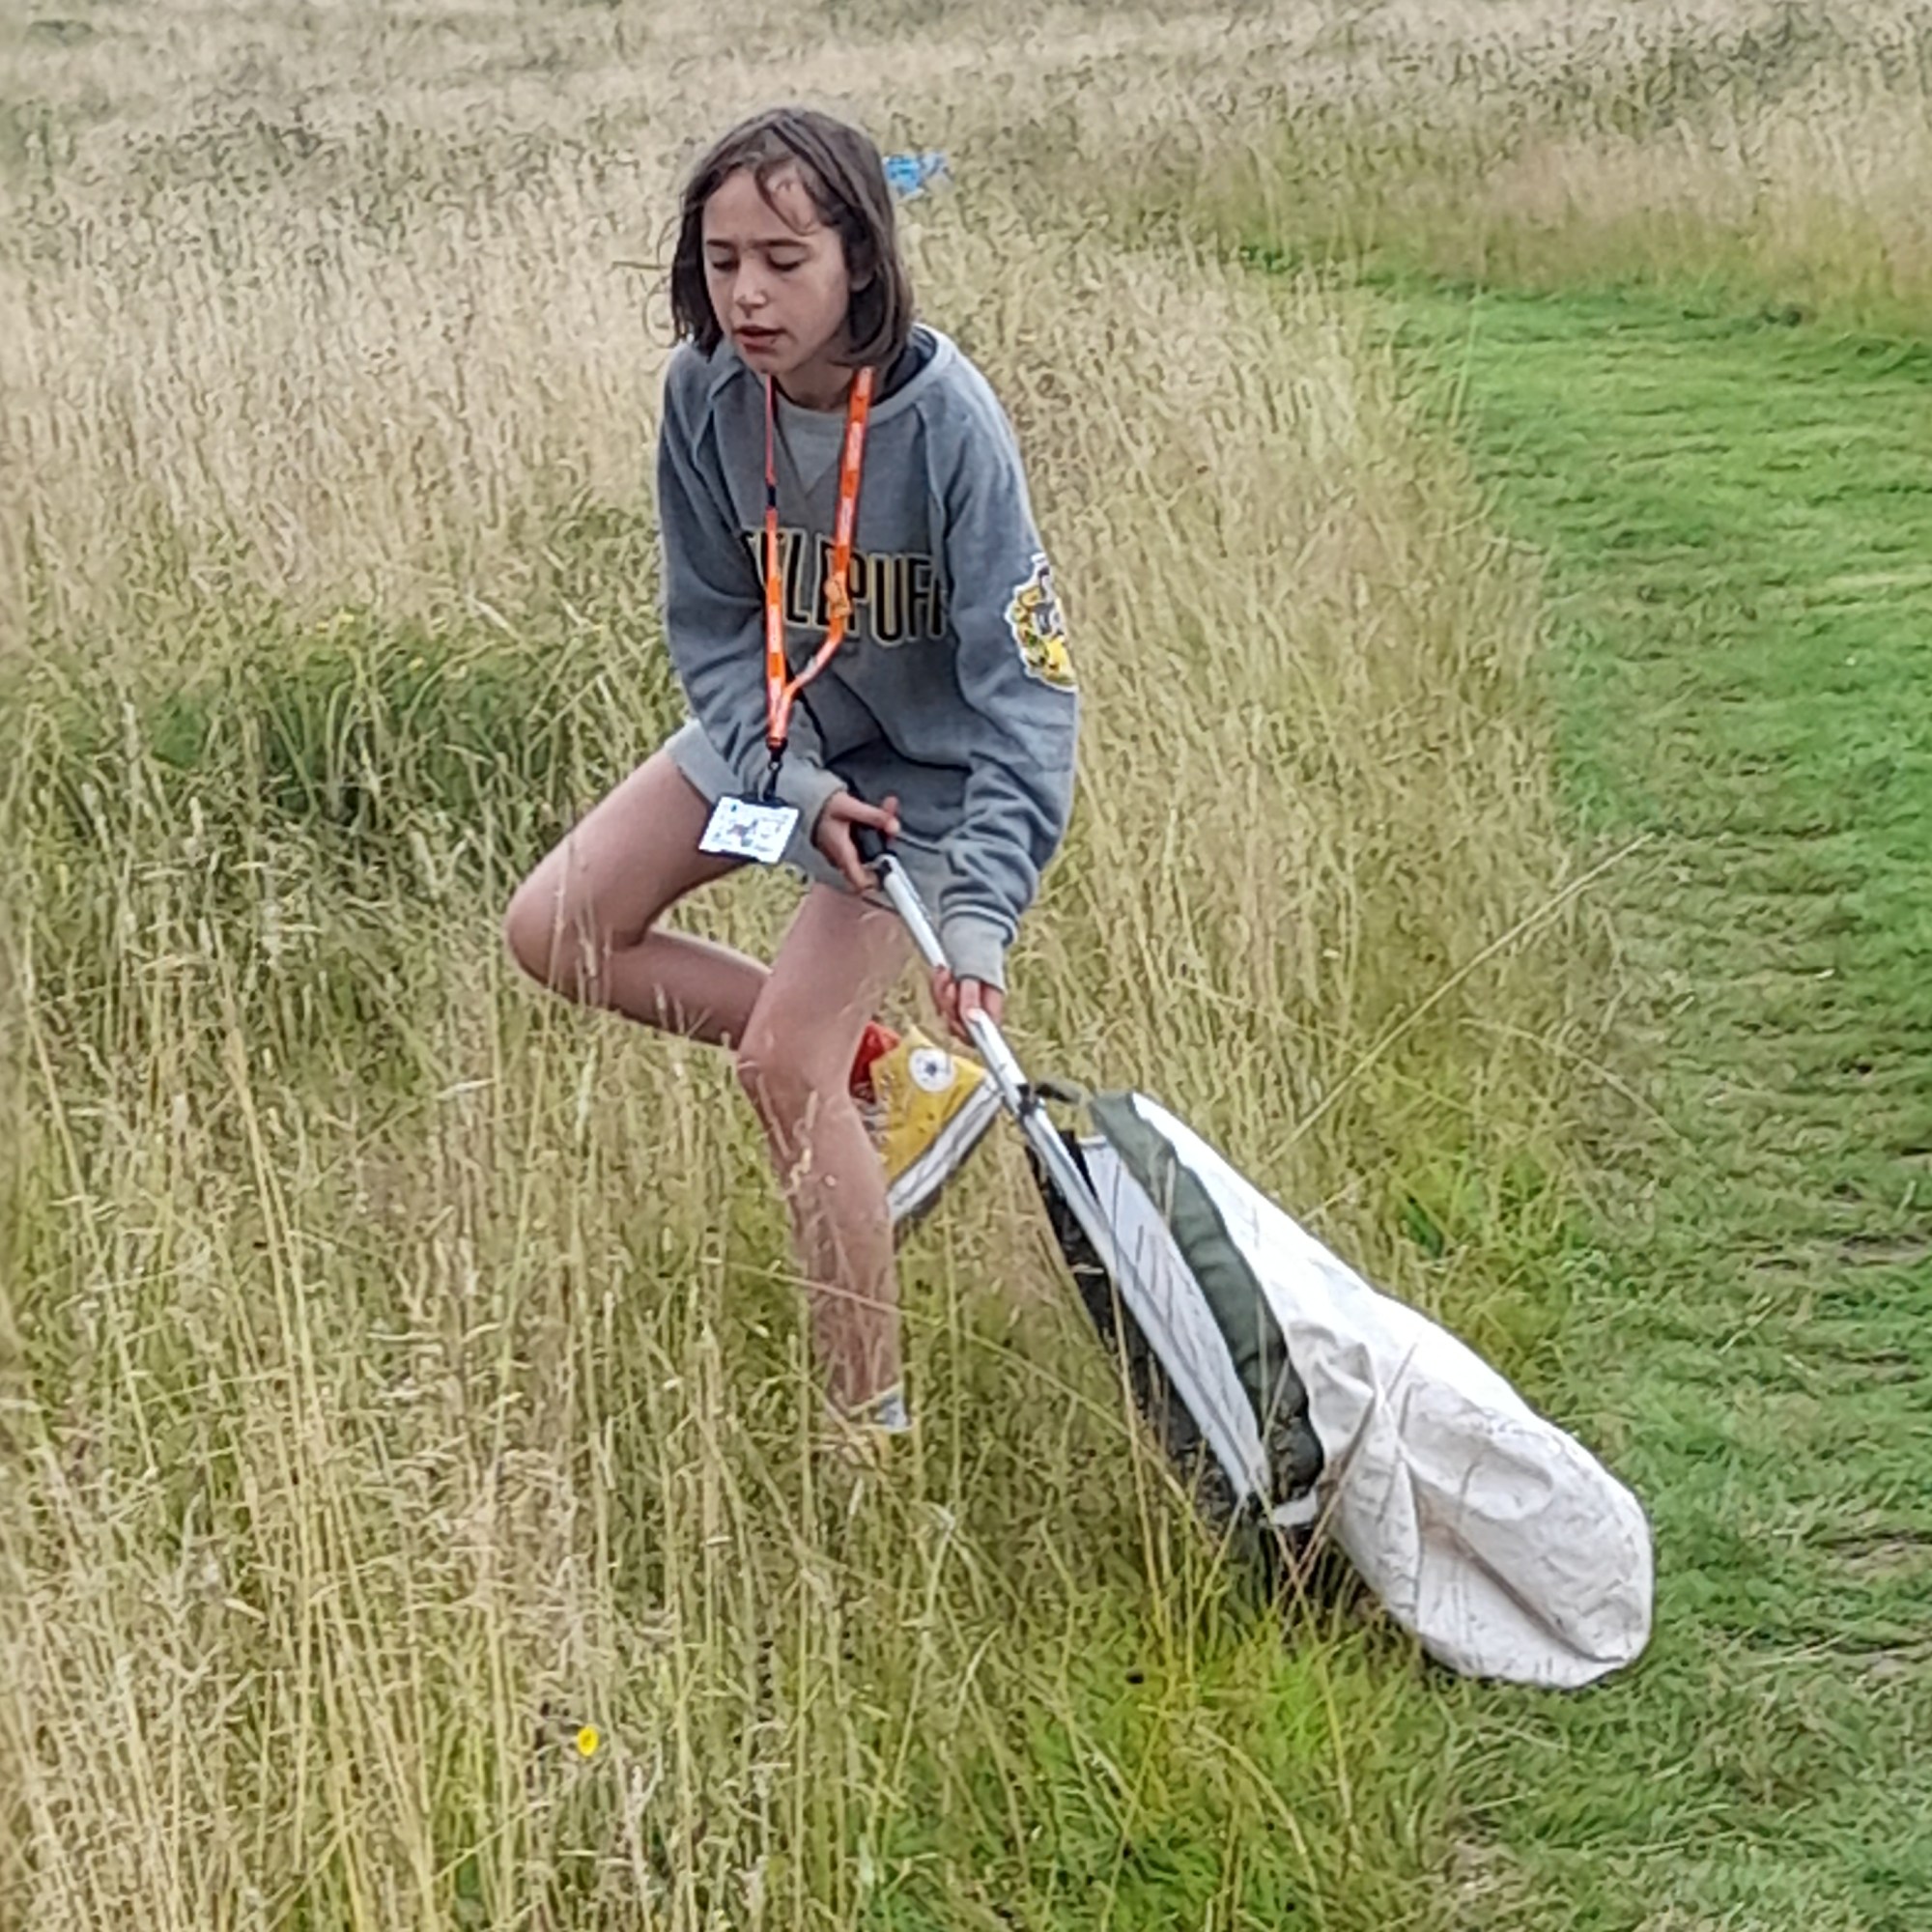
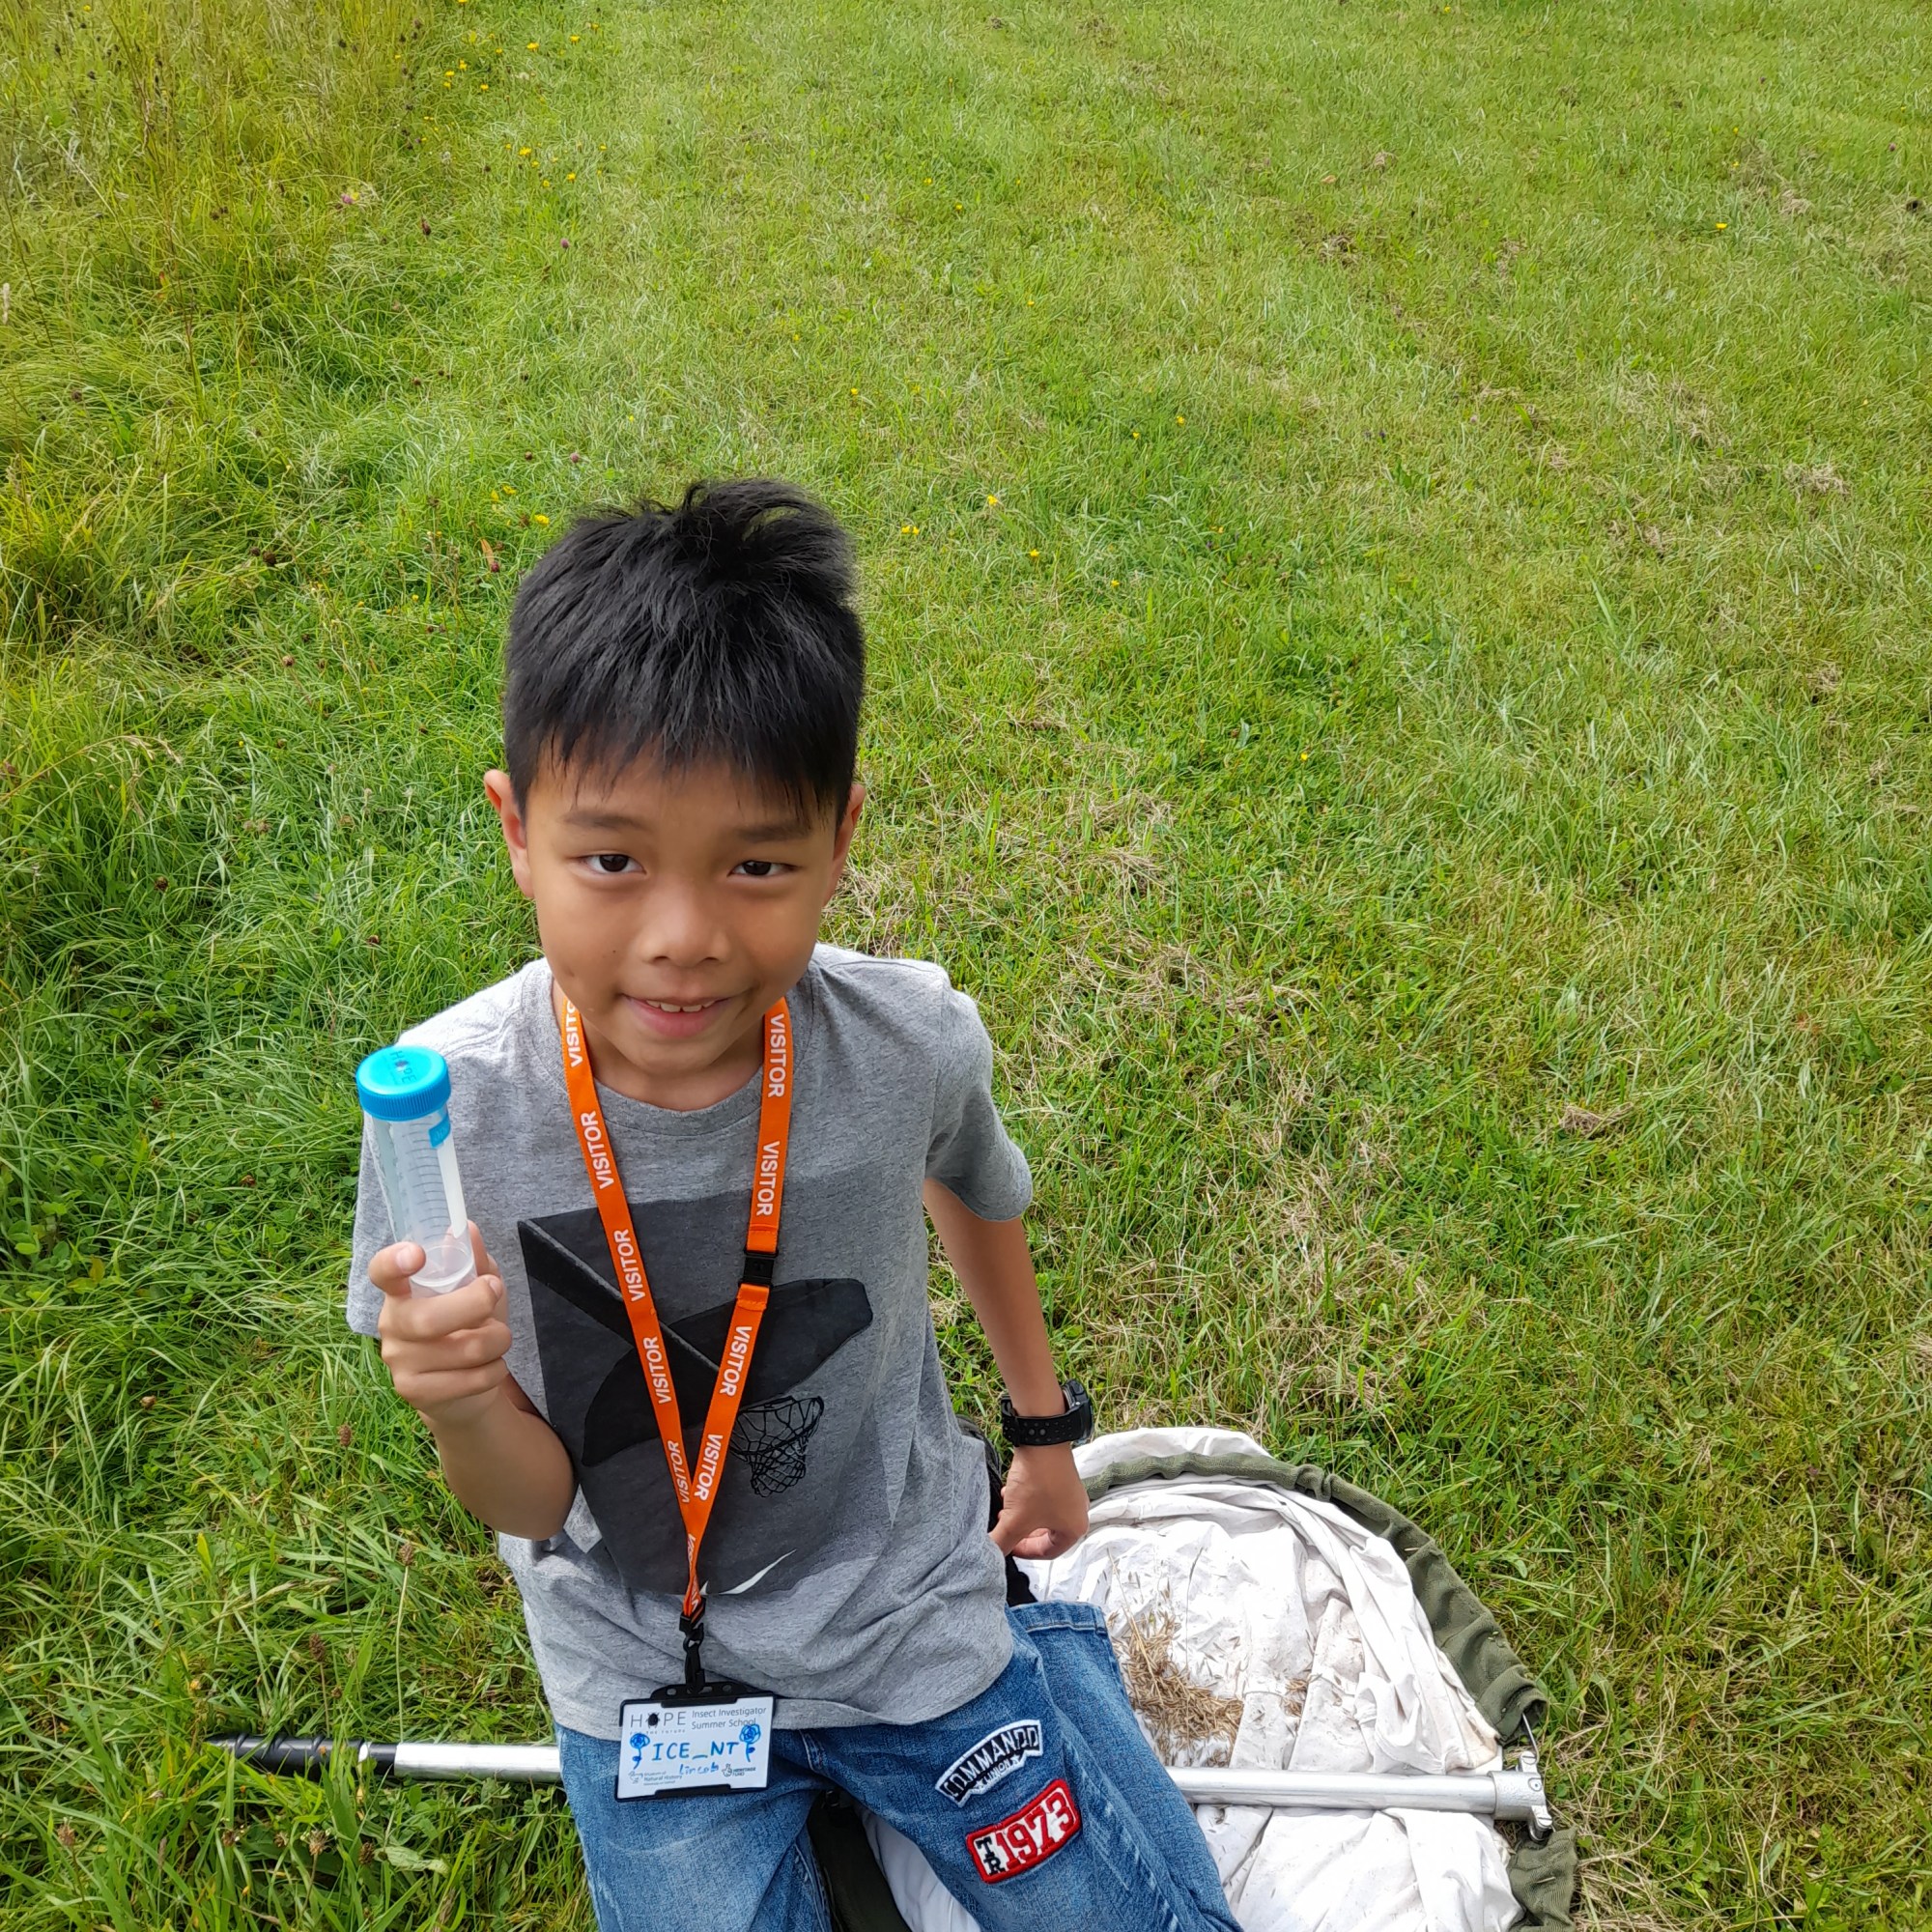
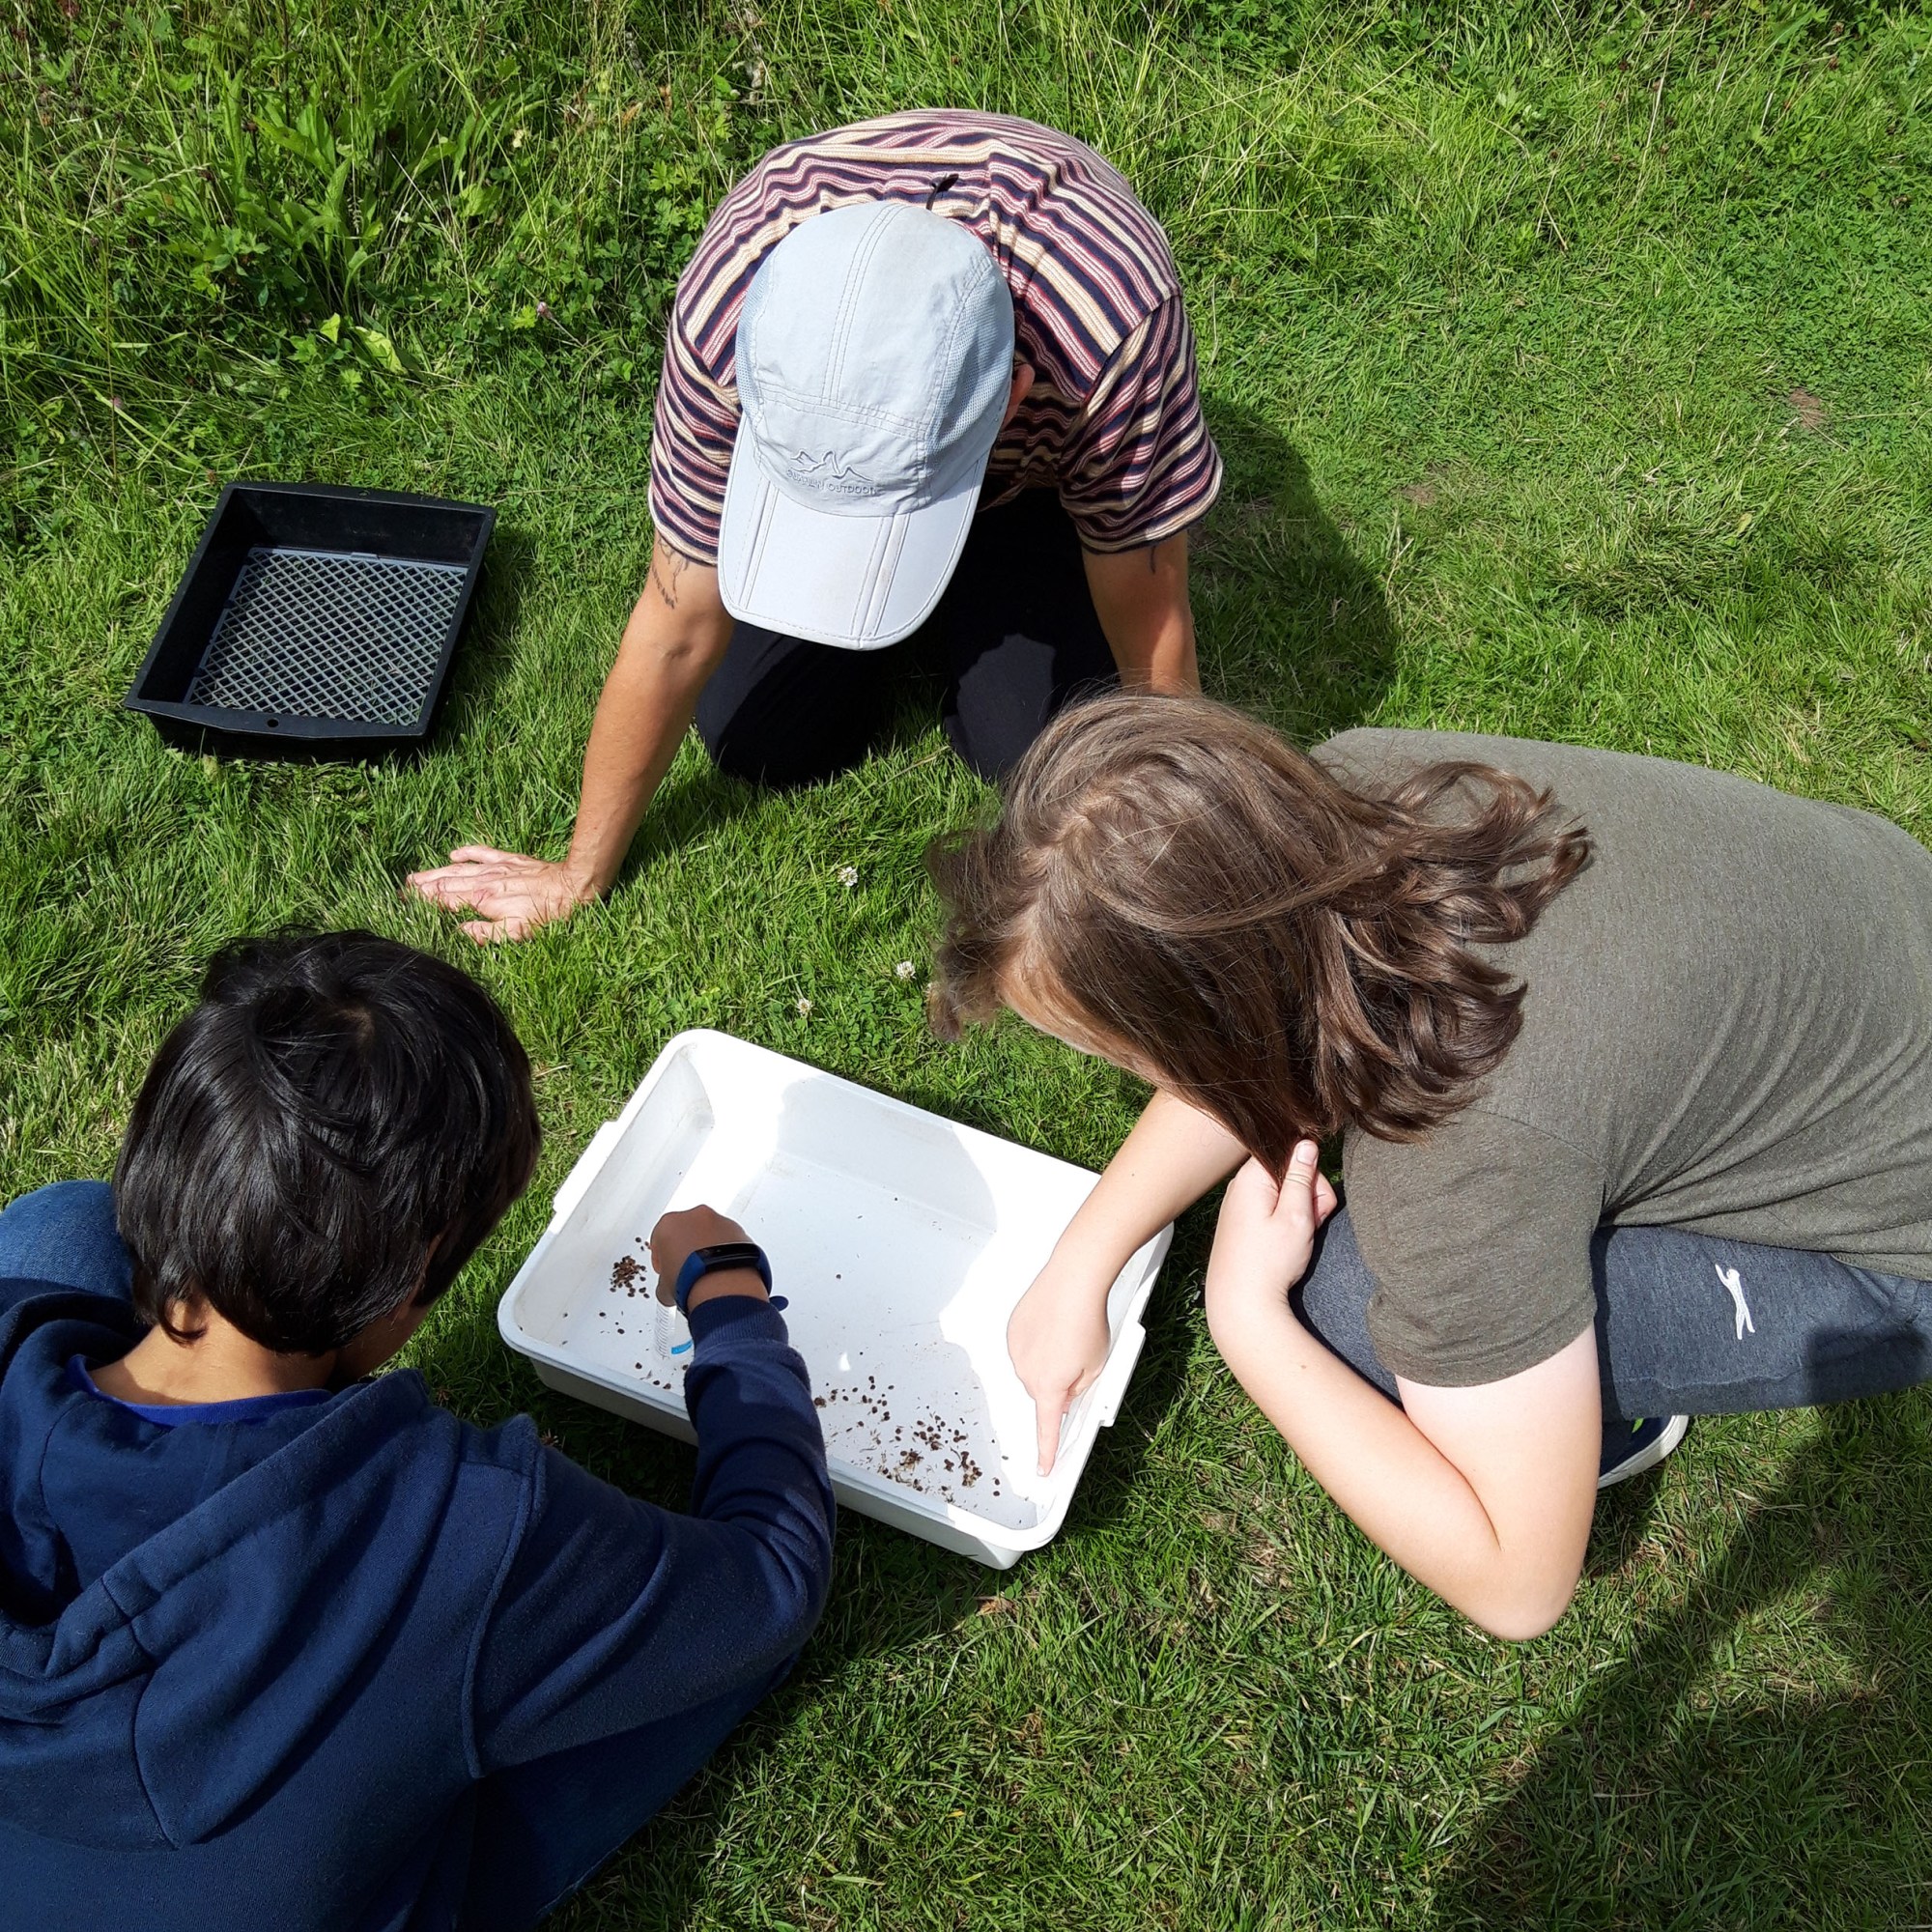
Through the week participants will get a sneaky peak behind the scenes at the museum and will explore some of Oxford University’s amazing outdoor spaces. Activities will include insect handling and pinning with entomologists in the museum, insect photography with a wildlife photographer, learning about how entomologists collect and study insects, and planning and conducting their own insect investigations.
If you would like to know more, or want to book a place, please get in touch using the Contact Us page, or email Rodger, Susie and Kate at hopelearning@oum.ox.ac.uk. We’re looking forward to hearing from you!
Discover the amazing world of beetles, bees and butterflies at our free Insect Investigators Summer School for 10 to 14 year olds; 10.00am – 3.00pm, 1st to 5th August 2022.
Through the week participants will get a sneaky peak behind the scenes at the museum and will explore some of Oxford University’s amazing outdoor spaces. Activities will include insect handling and pinning with entomologists in the museum, insect photography with a wildlife photographer, learning about how entomologists collect and study insects, and planning and conducting their own insect investigations.
If you would like to know more, or want to book a place, please get in touch using the Contact Us page, or email Rodger, Susie and Kate at hopelearning@oum.ox.ac.uk. We’re looking forward to hearing from you!
Seirian Sumner is Professor of Behavioural Ecology in the Centre for Biodiversity and Environment Research (CBER) at UCL. She runs the social insect lab. In this video she talks about the work of the lab.
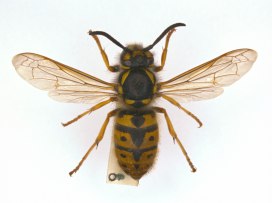
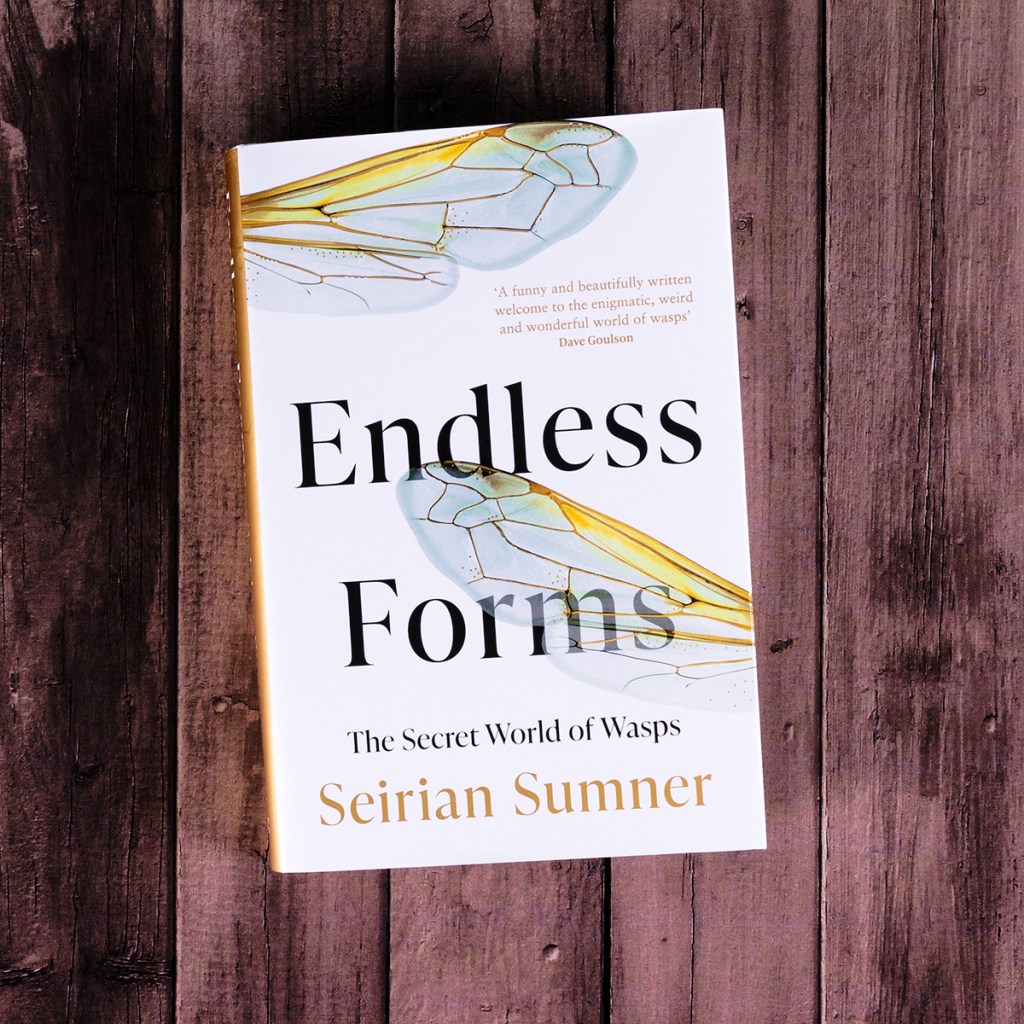
In the video Seirian talks about the role of wasps in the ecosystem, and how their importance is often overlooked in comparison with bees. She has recently released a book, Endless Forms: The Secret World of Wasps, which tells us more about these underrated insects.
Have you read this or any other good books or articles about insects that you would like to share? Let us know about them in the comments section or via the contact us page.
A pooter is a great device for catching small insects. It’s easy to make your own at home.
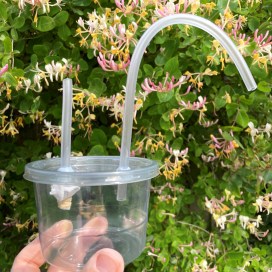
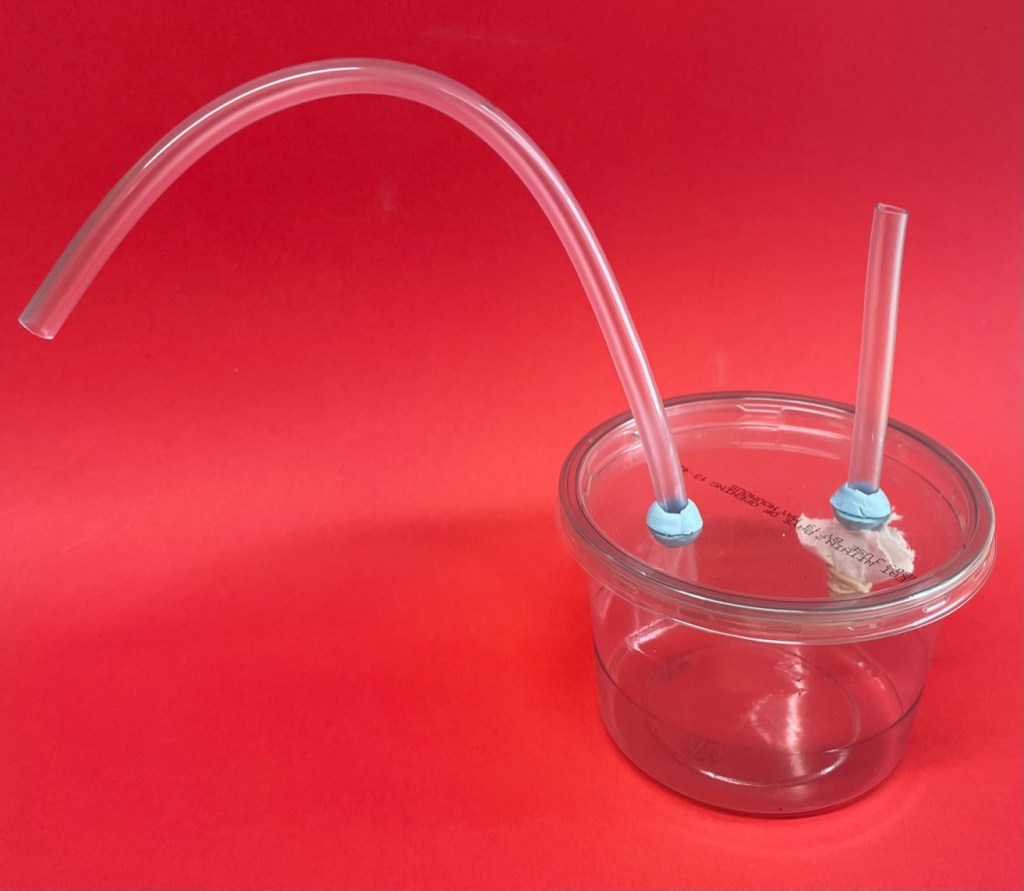
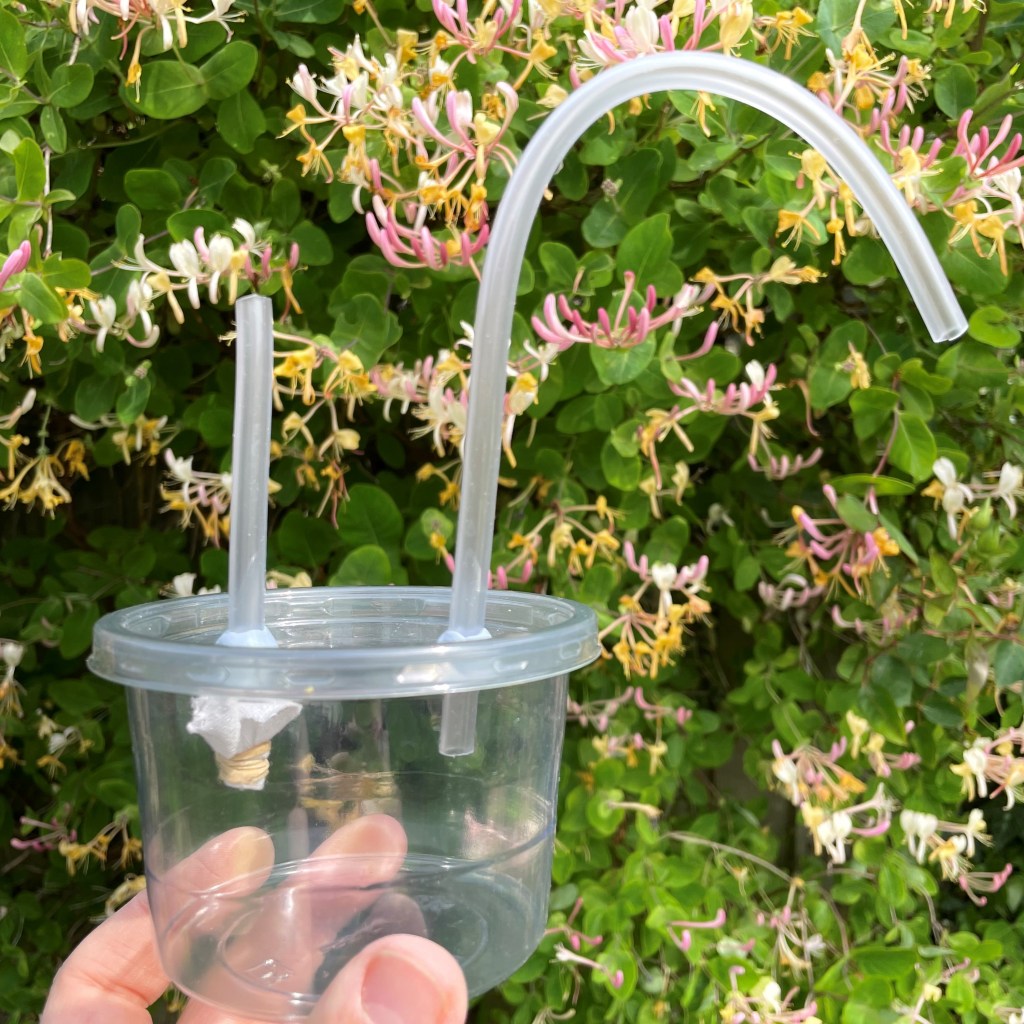
An assembled pooter
What you will need:
A transparent plastic food container with a lid.
Two drinking straws or 30cm of plastic tubing.
Plasticine or Blu-Tac
An elastic band
A piece of cloth
Scissors
A grown-up
How to make your pooter
Make the tubes.
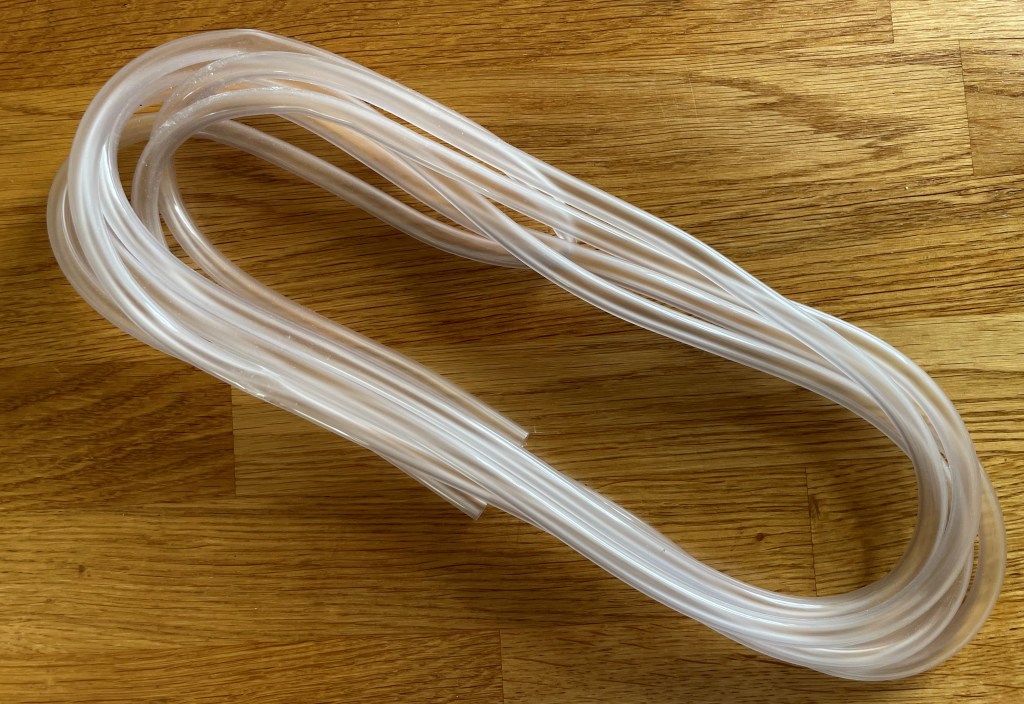
You can use two drinking straws. Ones with bendy ends work best. Even better is plastic tubing because it is bendier than a straw and less likely to get crushed. Car parts shops sell it as ‘washer tube’. Whatever you use, make sure it is clean.
Washer tube from a car parts store is ideal for a pooter
Using the scissors, cut two lengths of tubing, one about 10cm long, the other about 20cm long. If you’re using straws, cut one of them to about 10cm (including the bendy bit, if there is one). Leave the other straw as it is.
Make two holes in the lid.
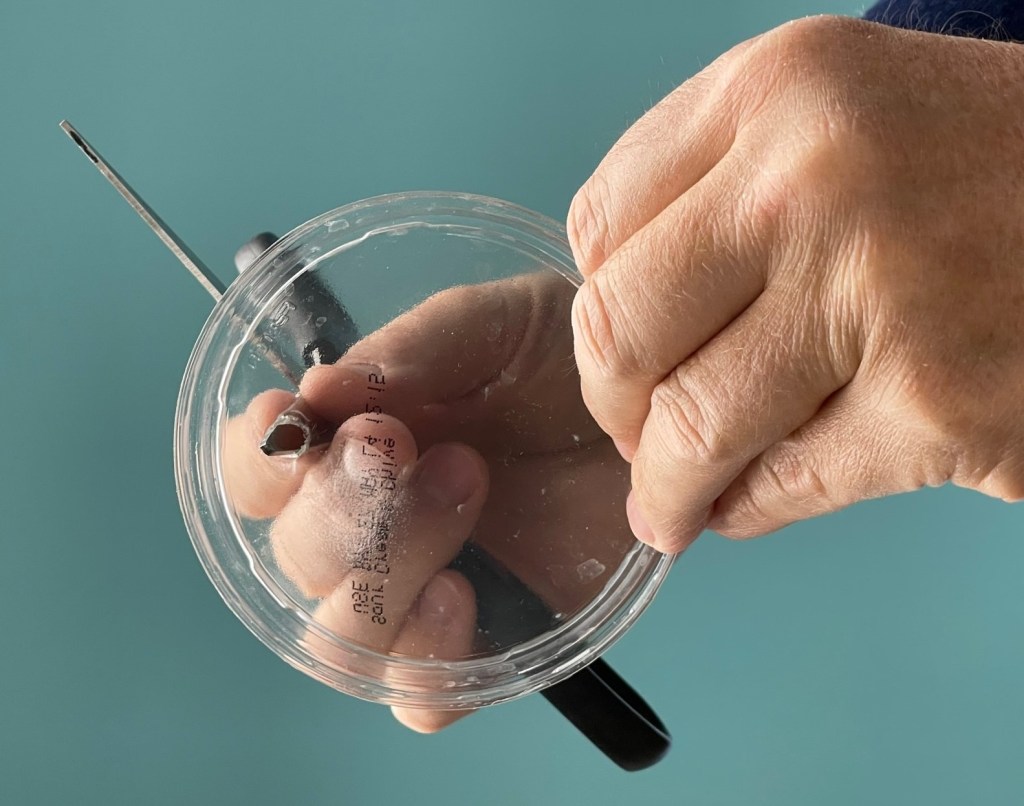
Use scissors to make holes in the lid.
Start with a clean used transparent food container. The ones that shops use for houmous, dips, etc. work well. Place the lid of the food container on a flat surface. Put something underneath it like a cutting board or thick piece of cardboard underneath to protect the surface you are working on. Here is where you may need a grown-up to help: using the sharp point of a scissor, make two holes on the lid. They should be about 2cm from the edge of the lid and least 3cm apart. Use the scissor blade in a circular motion to gradually make one of the holes large enough until the tube (or straw) is a snug fit through it. Be careful not to make it too big. Repeat for the other hole.
Fix the tubes in the lid.
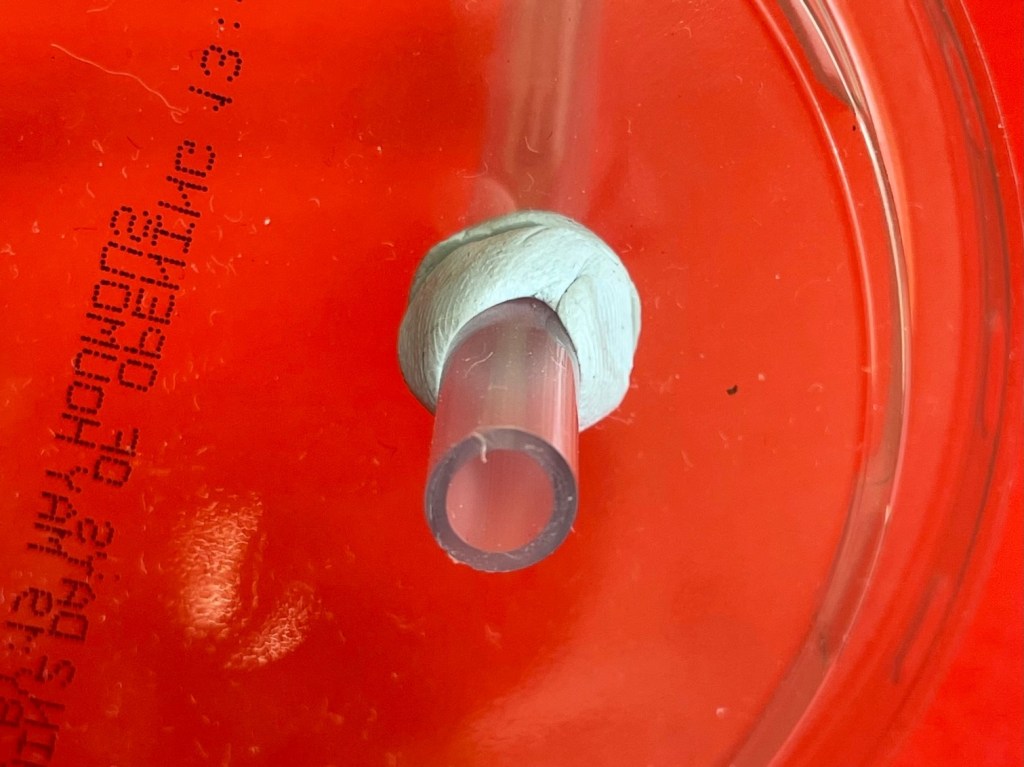
Push the short tube (or the cut straw) about 2cm into the lid. Use the plasticine or Blu-Tak to seal the hole round the tube, both inside and out.
Seal round the tube with Blu-Tak or Plasticine
Push the long tube (or uncut straw) about 2cm into the other hole and seal this one in the same way. If you are using a bendy straw the short end should go inside the pooter.
Add the filter.
Add the filter to the tube you will such through.
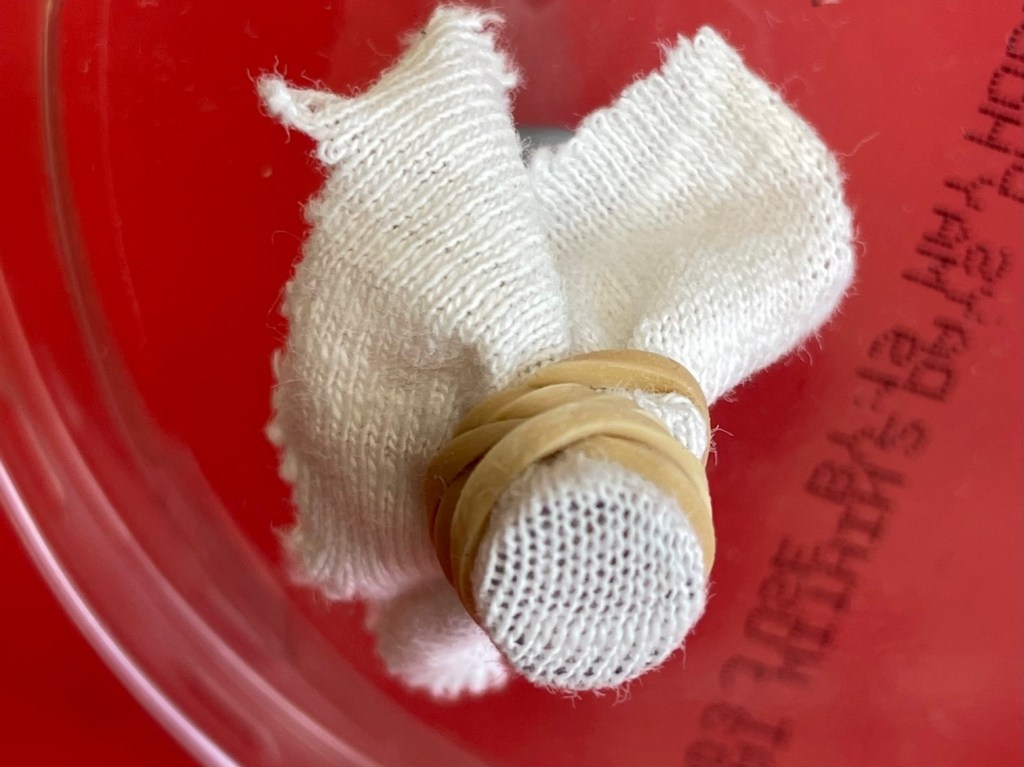
The filter goes on the short tube (or cut straw) and will stop you accidentally sucking up insects into your mouth! You can use a piece of thin cloth, old tights, or even paper tissue. Make sure it’s clean. Use the elastic band to fix the filter on to the end of the short tube that goes inside the pooter.
Test it!
Put the lid into the food container. Now test your pooter to check that it is sealed properly by trying to suck up something small like a grain of rice or a tiny piece of paper. Point the end of the long tube close to your object and suck through the short tube. A short sharp suck of breath will work better that a long indrawn breath. If it doesn’t work well, check the seals aren’t letting in any air.
A finished pooter.
Using your pooter
Your pooter is now ready to go!
Have fun collecting insects and watching them inside the pooter. Look for insects on the leaves and stems of plants. Don’t forget to check the underside of leaves. When you have found something interesting, and smaller than the width of the tube, point the end of the long tube at it, as close as you can get. Then quickly suck on the short tube. The insect should be sucked up into the pot where you can look at it. Don’t worry if it doesn’t work first time, most people need a bit of practice at pooting!
Don’t leave your insects inside the pooter for more than a few minutes. Make sure to let them go where you found them. Don’t forget to send us your pictures – we’ll put them in the Gallery.
You can find more great makes in our Make and Do section.